A friend of mine recently asked me how I screenprint yardage, so I set up my camera on a tripod in my studio to document my first time printing 'Pasto'.
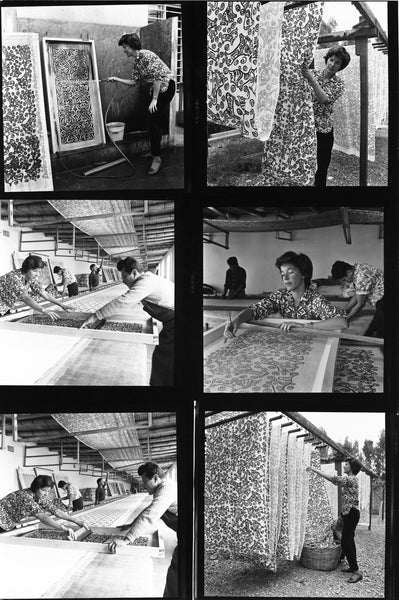
The technique I use for screenprinting yardage is not only the old-school method, it's the ultra-low-tech, do-it-in-your-basement variety. My grandmother's screenprinting workshop used the same method, but her equipment was much bigger and better. Behold:
Most of the screenprinted fabric you see in modern clothing is printed using a completely different method, in which silkscreens are cylinders and the printing table is a conveyer belt. I have had fabric printed this way in a large factory in Lima. While the process lacks the charm of manual yardage screenprinting, it's easier to print wider fabrics and it's a whole lot faster. Here are the cylindrical screens used to print my fabric the modern way:
So if modern factory screenprinting is the most efficient, why don't I stick with that? Well, I absolutely plan to when I have a few hundred yards of fabric to print all in one go. But because this expensive machinery is run by engineers, factories require minimums to print yardage - usually several hundred yards per print, per color. While I work up to those quantities, I'll stick the more rustic (albeit more labor-intensive) process.
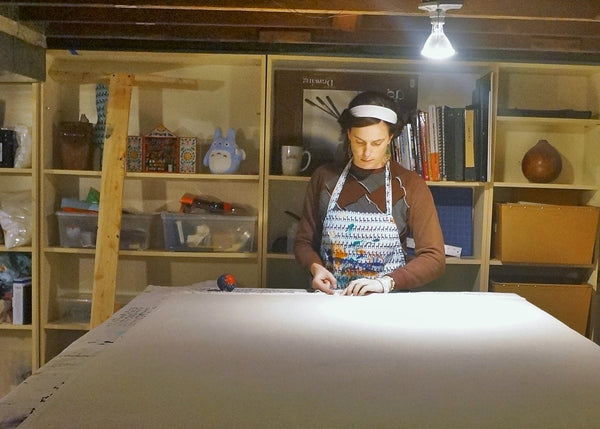
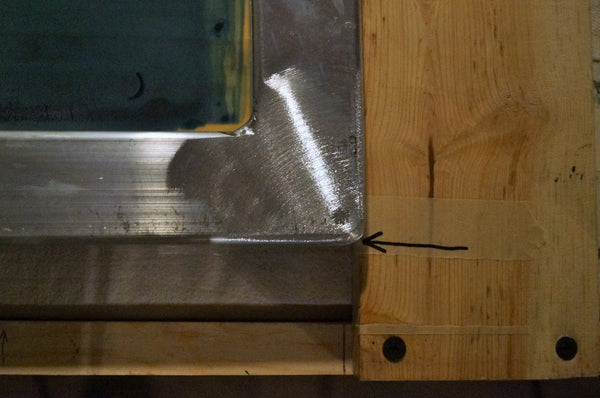
I built my screenprinting table (with more than a little help from my dear dad) by covering a table-top with wool batting and canvas, pulled taught and secured around the edges of the table. My t-square keeps the screen lined up straight across the width of the table. I made it with a couple of pine 1x4s.
There's a bit of set-up each time I screenprint fabric, especially when it's a new screen.
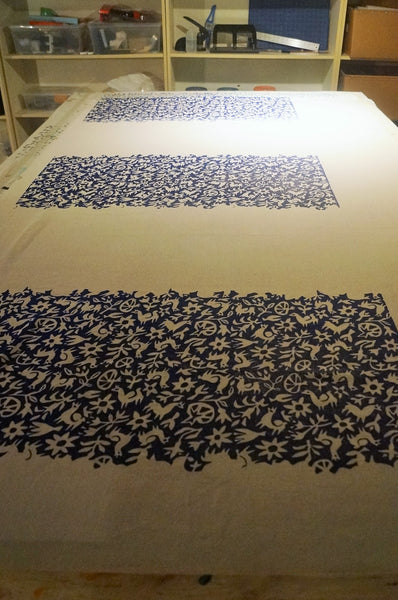
Step 1: Spread the fabric across the table, iron it to create a flat printing surface, and pin the edges down to keep it in place. Cover pins with masking tape to keep them from damaging the screen.
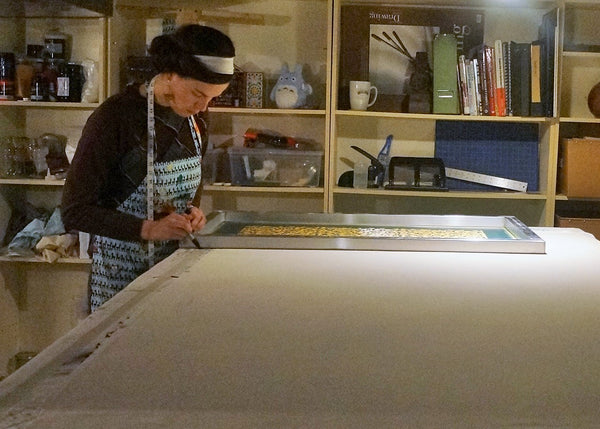
Step 2: Measure the repeat length - the length of the print. The ideal is for the prints to fit together like puzzle pieces, so it's important to measure exactly. The length of this print is 14 7/8" and trust me, one eighth of an inch is the difference between success and failure.
Step 3: Mark the repeat measurements on masking tape down the length of the table. These are the registration marks that I'll line up my screen with to fit together the "pieces of the puzzle", if you will.
Step 4: Line up the t-square with the first repeat mark on the table, and then create a mark on the t-square itself to line up the bottom corner of the screen. And with that, I'm ready to print.
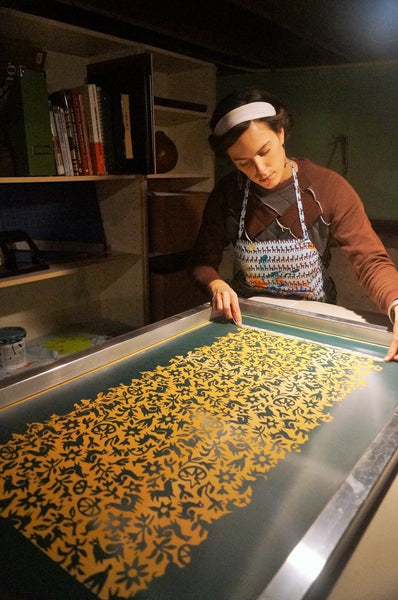
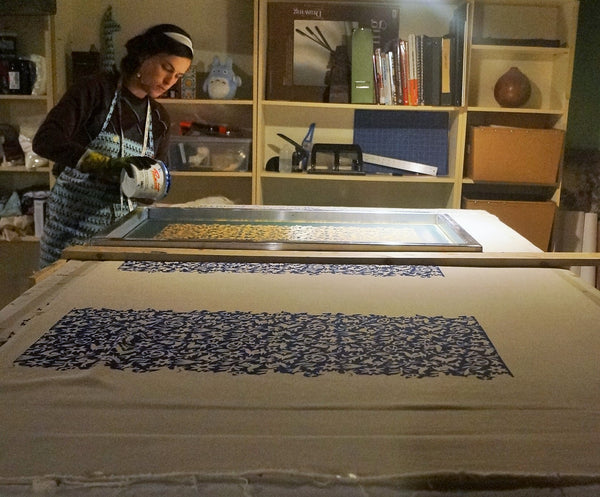
Step 5: Pour a generous dollop of ink along the entire edge of the design. Where you see yellow on the screen is where the ink will pass through the screen. The dark green is photo emulsion which prevents ink from passing through to the fabric. Place a squeegee in the dollop of ink and push it away with light pressure to coat the design entirely. This is called "flooding" the screen.
Step 6: Bring the squeegee to the far side of the screen, push down, and pull the squeegee across the screen with firm pressure. The number of strokes across the screen depends on the screen density, squeegee hardness, ink, and fabric, so getting the print to come out just right often takes a bit of practice.
Step 7: Repeat at every other registration mark, leaving spaces between prints. Why print at every other registration mark? The screen is bigger than the print, and if I were to print the repeats continuously all at once, the screen would pick up wet ink from the surrounding prints and smudge the fabric. So for now I just print at every other registration mark and wait for those prints to dry. In the meantime, I'll collect excess ink from the screen to use again and wash my screen and squeegee.
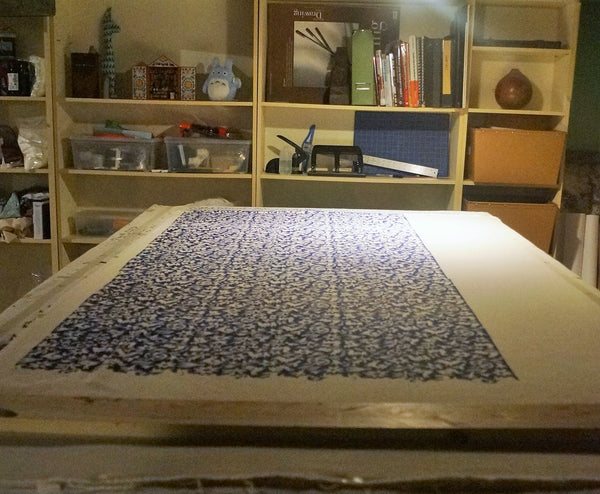
Step 8: It takes about half an hour for the first set of prints to dry, along with the screen and squeegee. When they're ready, line up the t-square and screen at the remaining registration marks and fill in the gaps.
Step 9: Let the ink dry, then set it with an iron.
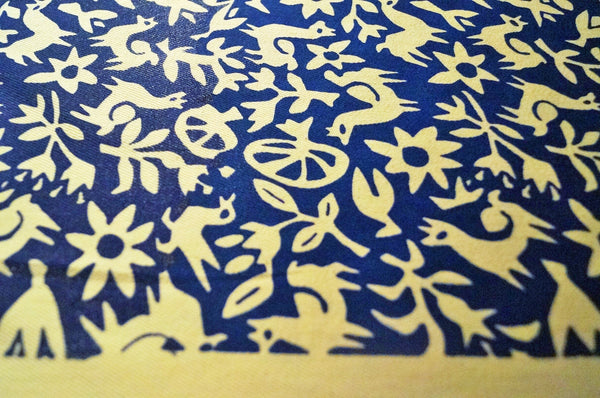
All the repeats fit together to make a continuous print. Check out how one repeat completes the next in the two images below.
Having Screenprinted for 35 years, including the finished size you show. I would recommend using a larger screen for the image. Along with a vacuum bed to hold the material in place. A Step and Repeat can be achieved by taping a piece clear pvc material to the bed, print a small section on the clear sheet, that will be the print you are joining to. You can then flip the clear film on to the printed section to an accurate register, flip the clear film back and print the next section. I don’t mean to be know all its just that I love Screenprinting and all of the processes.
Jasa Konveksi Bandung
Your article is very inspiring with high-quality content. We are sure that you will find additional useful information on our website. Come on, visit us at Jasa Konveksi Bandung and we can collaborate with each other.
Warm Regard.
Sandra
How do you avoid a line forming in the print between where your 1st repeat ends and the next begins?
Omar Hassan
hi. I understood Table, fabric, but what size of film, platen and squeegee you used and how to print film. thanks


Any printed cotton textiles design requrment
Having Screenprinted for 35 years, including the finished size you show. I would recommend using a larger screen for the image. Along with a vacuum bed to hold the material in place. A Step and Repeat can be achieved by taping a piece clear pvc material to the bed, print a small section on the clear sheet, that will be the print you are joining to. You can then flip the clear film on to the printed section to an accurate register, flip the clear film back and print the next section. I don’t mean to be know all its just that I love Screenprinting and all of the processes.
Your article is very inspiring with high-quality content. We are sure that you will find additional useful information on our website. Come on, visit us at Jasa Konveksi Bandung and we can collaborate with each other.
Warm Regard.
How do you avoid a line forming in the print between where your 1st repeat ends and the next begins?
hi. I understood Table, fabric, but what size of film, platen and squeegee you used and how to print film. thanks
Leave a comment